Waste Education

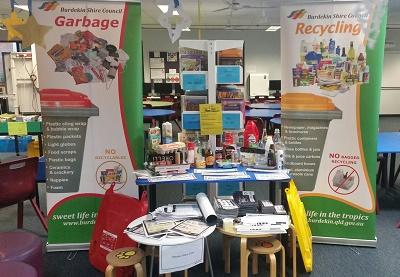
Burdekin Shire Council provides presentations to Burdekin schools and community groups to educate about the importance of recycling and waste management.
Council also provides resources in the forms of stickers, booklets, magnets and fact sheets.
Download the printable factsheets from the related documents below.
For bookings, questions or more information, please contact Council's Customer Service Centre on (07) 4783 9800.

Turning your rubbish into fertilizer
Every year, Australians throw away thousands of tonnes of household waste. Next time you take out your wheelie bin, look at what you are throwing away!
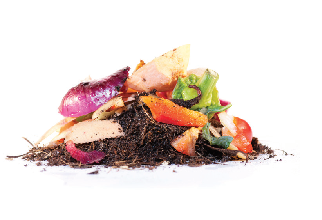
Almost half of our domestic rubbish consists of kitchen and garden waste. Most of this material can be composted. Composting reduces the amount of rubbish we throw away, decreases our need for landfill sites and provides a chemical-free fertilizer for our gardens.
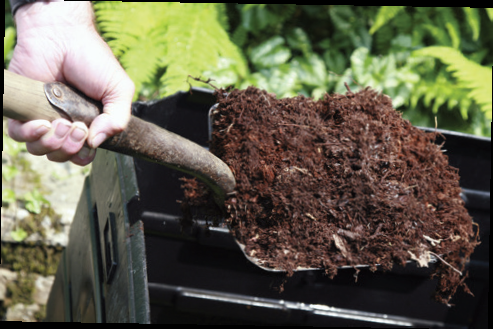
Composting is a cheap and hygienic method of converting your kitchen and garden waste into a clean-smelling material used in the garden as a soil conditioner. Properly controlled, it should end up as a dark, crumbly fertilizer with a pleasant, earthy smell.
Compost not only returns nutrients to the soil that would otherwise be lost, but also improves soil structure and increases the water holding capacity of the soil.
Composting is not new. Compost has been used in crop production for over 4000 years. Artificial fertilizers only became widely available a century ago. Australia, an old, eroded continent, is suffering from land degradation. Composting is one of the keys to soil care in rural and urban situations.
How to compost?
Step 1 - Choose a warm position outside where the compost has direct contact with dirt or soil.
Step 2 - Place course twigs on the bottom of the compost to help with drainage and air flow.
Step 3 - Organise your organic waste in a bin or pile. Put kitchen waste on the compost heap, but NO meat, bread or dairy foods.
Step 4 - Layer your compost, alternating between nitrogen-rich green layers (e.g. lawn clippings, weeds, kitchen scraps, manure) and carbon-rich brown layers (e.g. dried leaves, branches, straw, shredded paper, egg shells).
Step 5 - Keep your pile moist (not soaking wet) with tea and coffee grounds, or grey water from the kitchen.
Step 6 - Ensure your pile is aerated by turning it with a garden fork or compost turner to allow air in.
Step 7 - Keep your pile covered – this will ensure it doesn’t dry out or get too soggy in the rain.
Help! I have a compost problem
You need the right balance of moisture, heat, air and materials to have a successful compost environment. Here are some common problems and suggested solutions:
Not breaking down
- Add water
- Add equal amounts of veggie scraps or fresh lawn clippings with fallen leaves or straw
- Create better air circulation by punching holes in your bin
Smelly
- Add wood ash or dolomite to neutralise the heap
- Rebuild with some dry materials
Flies
- Cover organic waste with a layer of soil
- Avoid meat or dairy products
Too Wet
- Improve drainage under the heap
- Mix in some dry carbon-rich materials, e.g. shredded newspaper and hay
Vermin
- Cover each organic layer with soil and place the bin on a layer of fine mesh
- Always keep the lid on
Not suitable for composting!
Some organic waste items encourage vermin and smell when they decompose. Avoid putting these items in your compost heap/bin:
- Fats and oils
- Meat products
- Dairy products
- Cat or dog faeces
Also, avoid man-made materials such as plastic, steel, aluminium and glass for safety reasons.

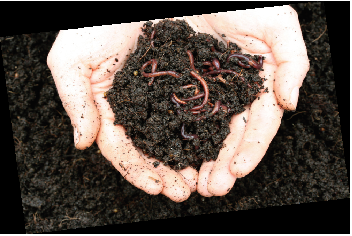
Worm tubes are ideal for the natural disposal of organic waste. These ‘feeding stations’ can be easily set-up on any site and make a great fertiliser for your garden while saving space in your bin.
How to make a worm tube
Step 1 - Use an empty 10L-20L plastic bucket with a lid. The lid stops flies, rodents and cockroaches entering the tube.
Step 2 - Remove the base of the bucket, then drill or punch holes in the lower third of the bucket sides.
Step 3 - Dig a hole in the garden and stand the worm tube inside. Push soil up around the bucket to cover the worm holes.
Step 4 - Lift the lid and add some food scraps, tea bags, coffee grounds, or any other organic waste. Remember to put the lid back on!
Worm Friendly Food
Items to Avoid
|
 |

